How do I upload Signed Packets?
This is for users who want to upload Signed Packets.
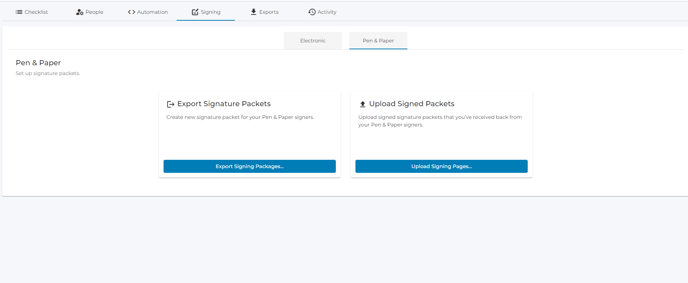
- Click "Signing" in the Tab Bar.
- Click the "Pen & Paper" tab and click "Upload Signed Packets".

- Click "Choose Files..." and select which files you would like to upload.
- Click "Upload All".
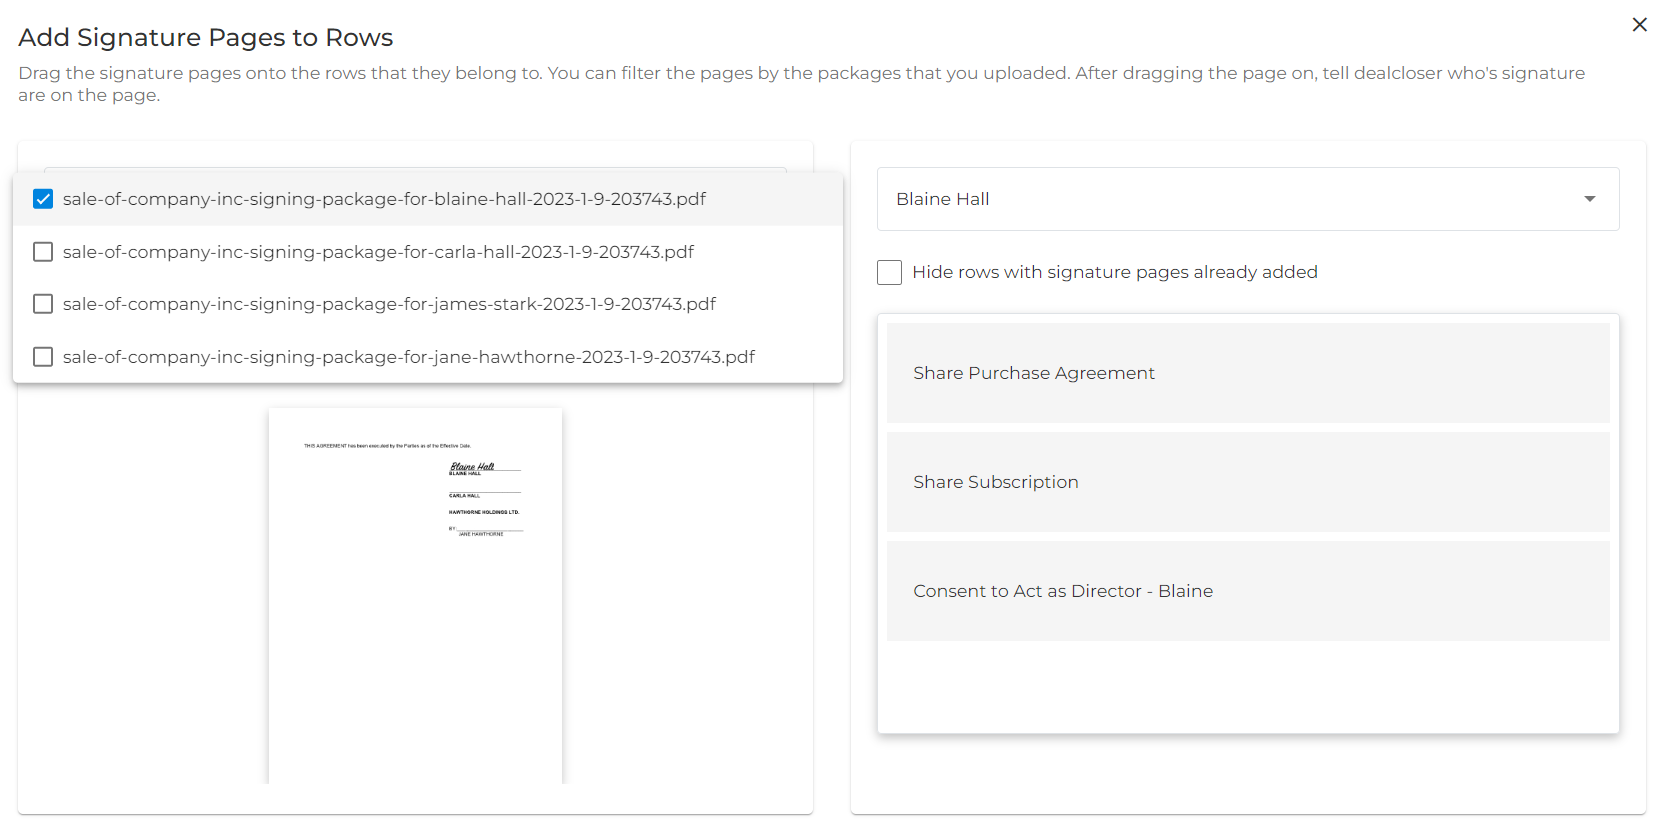
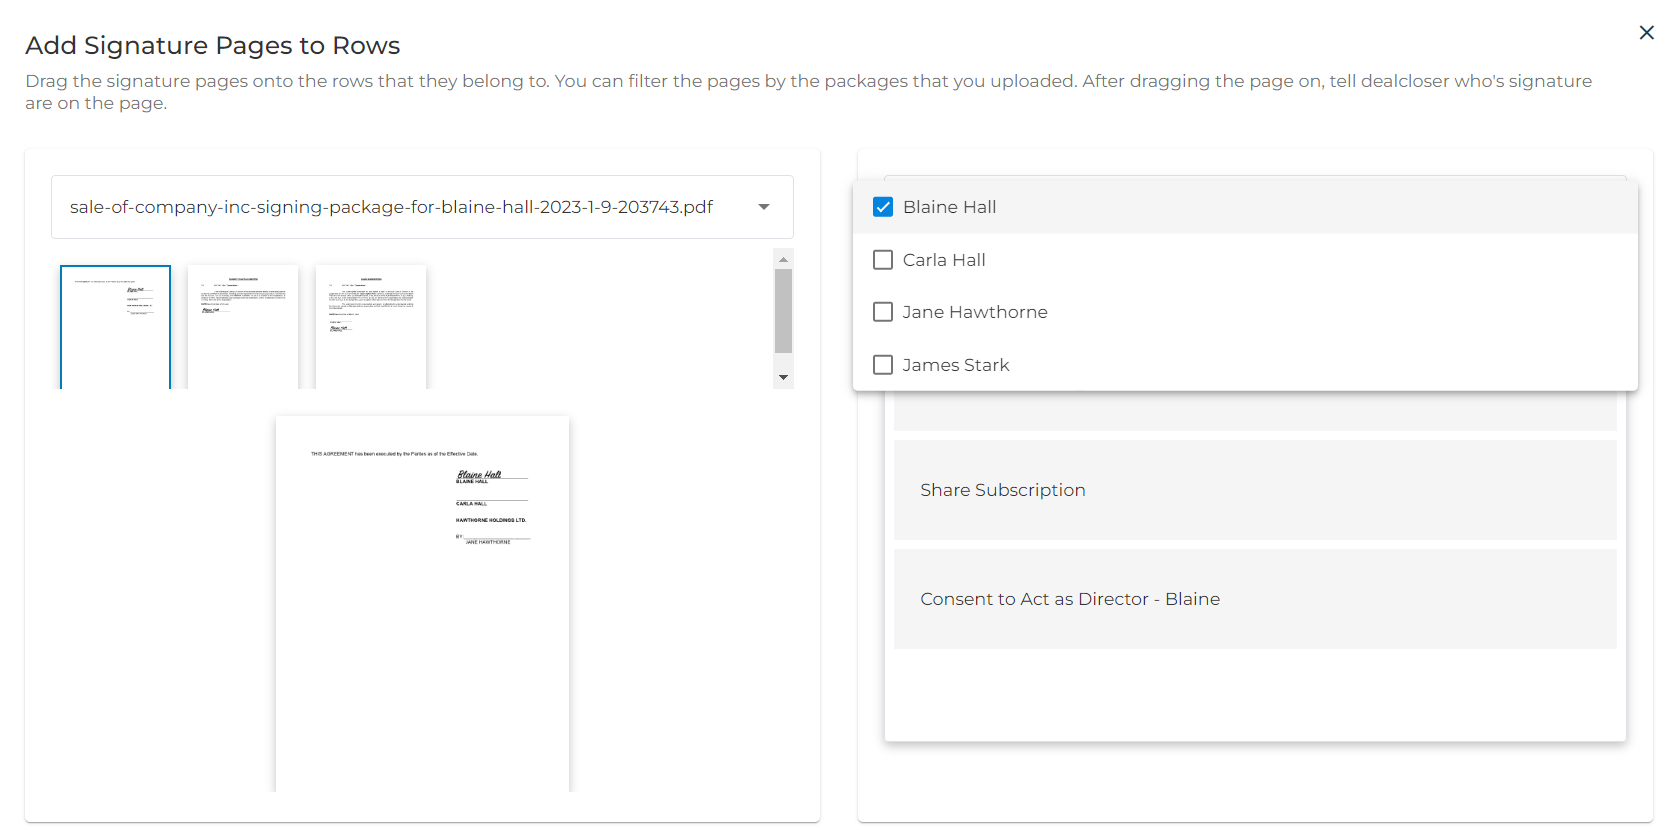
- Drag and drop the signed pages to the appropriate row. You can click the large thumbnail to see the full size version of each page.
- Once you drag and drop a signed page to the correct row, assign that signed page to a specific signer by checking off the signers name and clicking "Assign".
You can choose to work with specific signing packages by unselecting the other packages from the dropdown menu on the left. Doing so will display the pages of only the selected packages.

You can display the rows of specific signers only by unselecting signers from the dropdown on the right.

- Assign all signature pages to all rows.
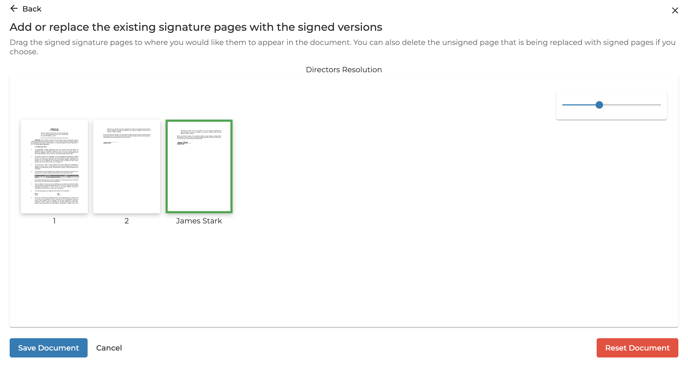
- Once all signature pages have been assigned, you can edit the order of the pages within each document by clicking the document name and then dragging and dropping each signature page into the correct place within each document. You can also delete blank signature pages that are no longer needed by clicking the "X" icon.

The signature pages you uploaded are highlighted in green.
- When finished click "Save Document".
- If you need to reset the document to correct a mistake, click "Reset Document".
- Repeat as needed for however many documents have newly added signature pages.
- To edit the page order of a document from the checklist, select the appropriate row, click "Signature Pages" in the sidebar, and then click "Re-order Signature Pages".
- To delete a signature page from a document, select the appropriate row, click "Signature Pages" in the sidebar, and then click "Delete".
